| Title Page | ||
| About our school | Basic Awakeri Info | Helping your child |
| News | Current newsletter | Ag Day Indoor |
| Principal's page | Vacancies | Yr7&8s |
| Calendar | History | Library |
| Seniors | Room 15 | Mrs Derbyshire & Mrs Edgecombe |
| Room 14 | Mr. Hawkes | |
| Room 13 | Miss Courtney Tennent | |
| Room 12 | Miss Dennis | |
| Room 11 | Miss Ulrich | |
| Middle | Room 10 | Mrs Elliot |
| Room 9 | Miss Manderson |
|
| Room 8 | Mrs Howard | |
| Room 7 | Mrs Laurent | |
| Room 6 | Miss Maunder & Mrs Davidson | |
| Juniors | Room 5 | Mr Sheather |
| Room 4 | Mrs. Turner & Mrs Grindrod | |
| Room 3 | Mrs Munn | |
| Room 2 | Mrs Andrew | |
| Room 1 | Mrs Morris | |
| Contact us | Academic archives | |
| Photo archives | News archives | Sports records |
Awakeri School
Poi Making
| Page designed by Ngahuia Leighton and Amy Falwasser.. | 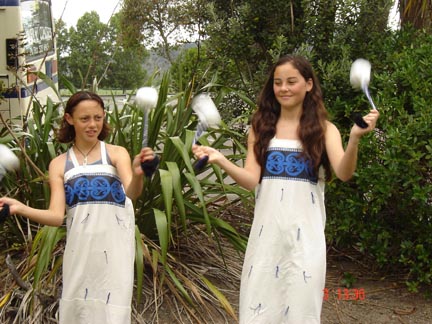 |
The poi is a very fun thing to learn. It is used in Kapa Haka etc. If you don't already have a poi maybe you should make some and give it a go.
How to make a POI
You will need . . .
*A plastic bag
*Stuffing- fluff etc.. DON'T use toilet paper, because toilet paper
is too hard on your hands.
*Wool
*Cellotape
Instructions
| * First you get some wool about the length of your forearm (from your elbow to your middle finger tip).This will make a short poi. If you want to make a long poi, the length of the wool should be from your shoulder to the tip of your middle finger. You will need six strands of wool. | |
| * Next you tie a knot at one end and then you do a 3 plait starting from the knot. Make sure when you finish plaiting you knot the other end leaving enough strands of wool to tie around the ball of stuffing. | 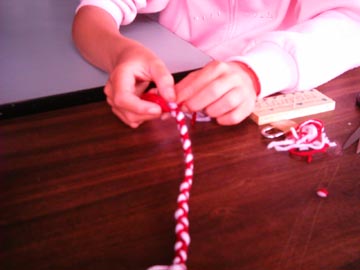 |
| *Grab a bunch of stuffing and scrunch it up into a ball about the size of a fist. Put the leftover strands around the ball of stuffing and tie the strands to hold the ball in place. | 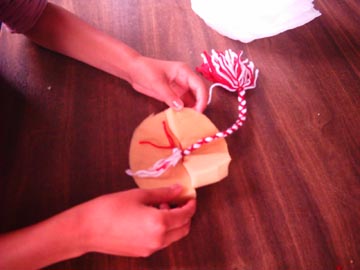 |
| *Then put the plastic bag over the stuffing and gather it at the last knot you made and tie with wool or string to hold it together. | 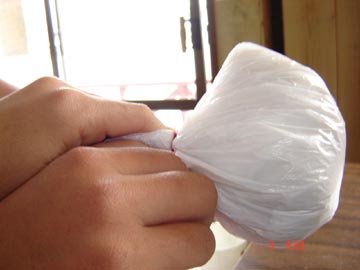 |
| *Trim the plastic beneath the tie. | 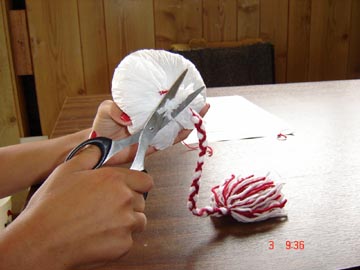 |
| *To finish off wrap cellotape around the tie. | |
|
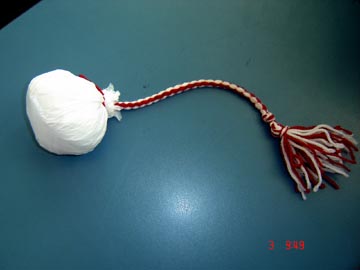
*There you have your poi. Have fun!! |
 |