| Title Page | ||
| About our school | Basic Awakeri Info | Helping your child |
| News | Current newsletter | Ag Day Indoor |
| Principal's page | Vacancies | Yr7&8s |
| Calendar | History | Library |
| Seniors | Room 15 | Mrs Derbyshire & Mrs Edgecombe |
| Room 14 | Mr. Hawkes | |
| Room 13 | Miss Courtney Tennent | |
| Room 12 | Miss Dennis | |
| Room 11 | Miss Ulrich | |
| Middle | Room 10 | Miss Grundy |
| Room 9 | Mrs Dowzall |
|
| Room 8 | Mrs Howard | |
| Room 7 | Mrs Laurent | |
| Room 6 | Miss Maunder & Mrs Davidson | |
| Juniors | Room 5 | Mr Sheather |
| Room 4 | Mrs. Turner & Mrs Grindrod | |
| Room 3 | Mrs Munn | |
| Room 2 | Mrs Andrew | |
| Room 1 | Mrs Morris | |
| Contact us | Academic archives | |
| Photo archives | News archives | Sports records |
Awakeri School
Making Masks
using the technique of Paul Klee
| Step One: Make a clay model of how you want your mask to look. |
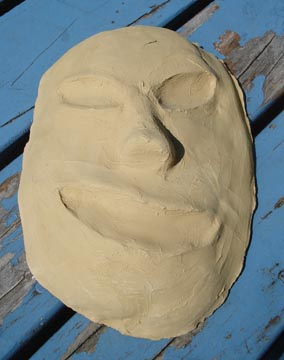 |
| Step Two: Cover the clay mask with gladwrap and then torn strips of newspaper pasted together. |
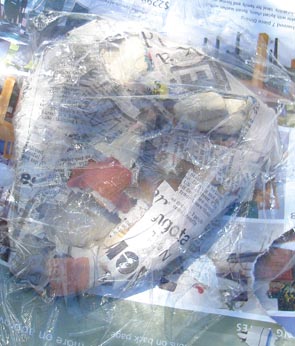 |
| Step Three: Cover the mask in strips of black paper, then newsprint. |
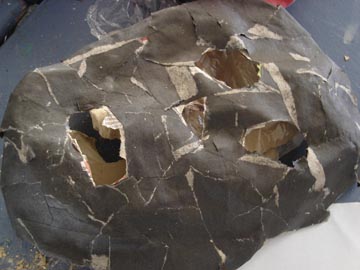 |
| Step Four: Paint a base colour. |
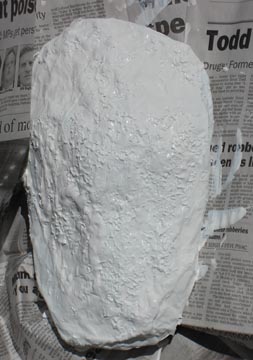 |
| Step Five: Paint over with other colours and add accessories, e.g. feathers, glitter.... |
 |
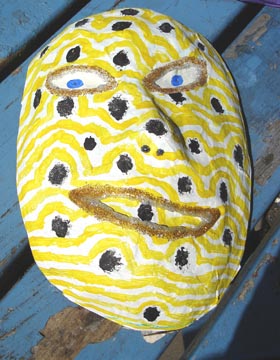
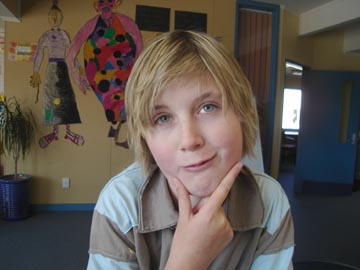
| and... voila! Here is Stefan's finished mask. The one above is Louise's. You can see Paul Klee's techniques of using dots, dodging the dots and extending the lines from the dots. |
 |
| Here's Louise cutting a stick to hold her lovely mask with. | 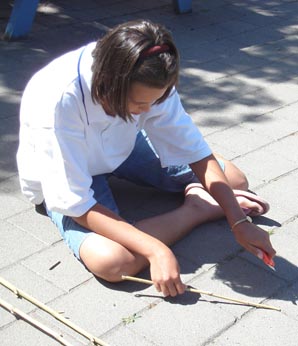 |
| This page was put together by Kate (the
intelligent blond!) Thanks to Mrs Parker for teaching us this. Thankyou Mr H for helping! |
 |